It may seem that the construction of a cellar, sauna, or a house is so complicated that the average person must undergo training or even have a construction education before doing so. This is often the case with traditional construction. There are a lot of materials, installation methods, and even possibilities for building a simple cellar.
One of the easiest and fastest methods to solve this is modular solutions. Be it wood, stone, concrete, or other options. When deciding in favor of a developed and tested solution, all you have to do is choose the shape, size, and finish, and you can already place the order. As a result, the possibility of mistakes and miscalculations remains very small.
In addition to the recommendations found here, we also include a detailed guide with each order, which has been created precisely considering the specifics of this project.
In summary, it looks like this:
- After placing an order, the approximate installation time and necessary conditions for installation will be revealed.
- The customer orders an excavator from the neighborhood or digs a hole of the desired depth himself, where the right amount of gravel goes to the bottom. The excavated soil remains next to the hole.
- At the agreed time, we come with the finished cellar, sauna or house and place the modules in the hole. Then we connect the modules and entrances together, connect ventilation and, if necessary, electricity. It usually takes us a few hours or a day at the most.
- The customer places the soil excavated from the hole on top of the cellar, sauna or house and, if desired, also orders more soil.
- The cellar, sauna or house is ready for use!
DETAILED CHARACTERISTICS:
STEP 1 – BEFORE INSTALLATION AND ORDERING
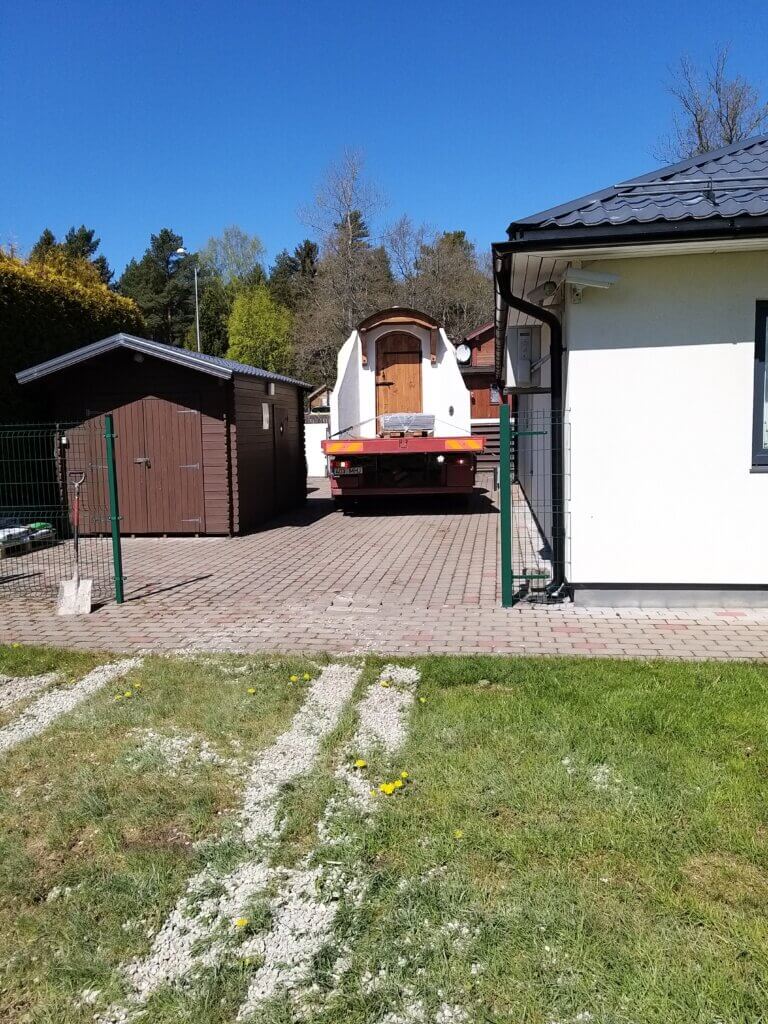
Make sure that the path along which the modules are brought is of sufficient width and carrying capacity. If the road surface is too soft, the car bringing the modules will get stuck. In this case, it would be wise to plan the installation for a time when the soil is frozen and/or dry and strong. We also make sure that the beautiful backyard does not suffer due to the installation. When transporting over grass, we use road surface mats that save grass and greenery.
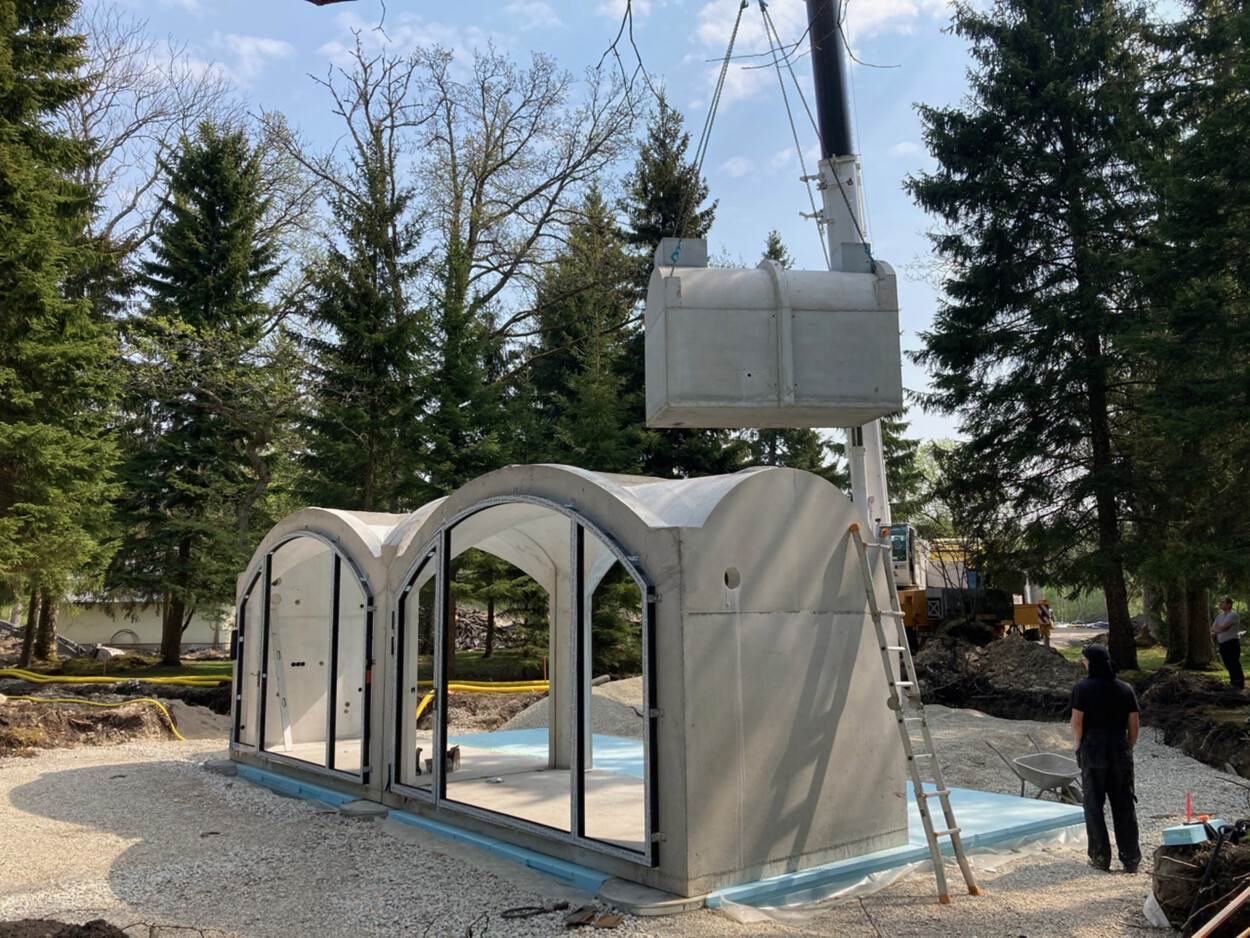
It is important that the crane can drive next to the installation site and lift the modules to the sides or back. However, if it is an installation in the city or in a place where it is difficult to get next to, then you have to plan an installation with a larger crane that would lift the modules over the obstacles.
The width of the road should be at least 2.6 meters, the height should be 4 meters, and the turning radius should be taken into account that it is a 10-meter-long vehicle.
The bearing capacity of the road should be at least 32 tons for smaller projects (4.5m²) and 40 tons (11.7m²) for larger installations.
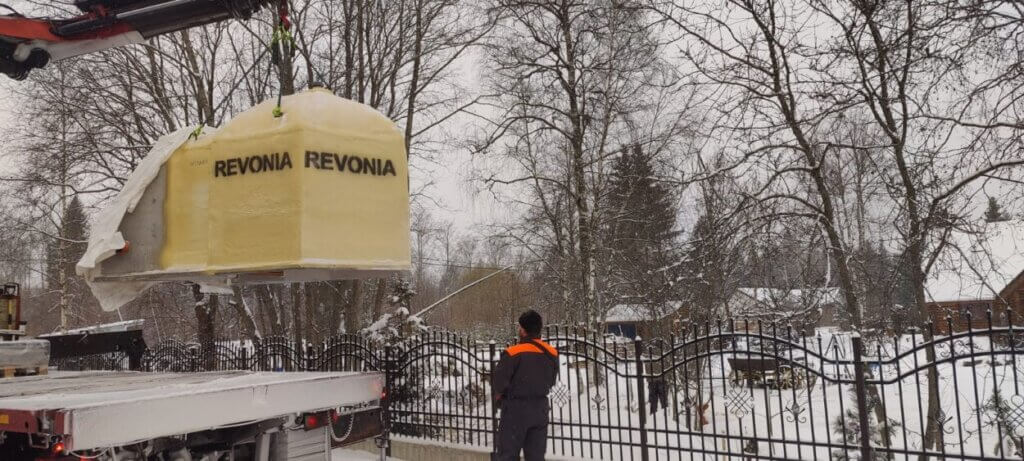
Our solution is also one of the few options that can be installed in winter!
If you doubt the installation method – ask us! Not a single installation has been left undone by us, and we have often checked the desired installation location ourselves before confirming the order.
STEP 2 – DIGGING
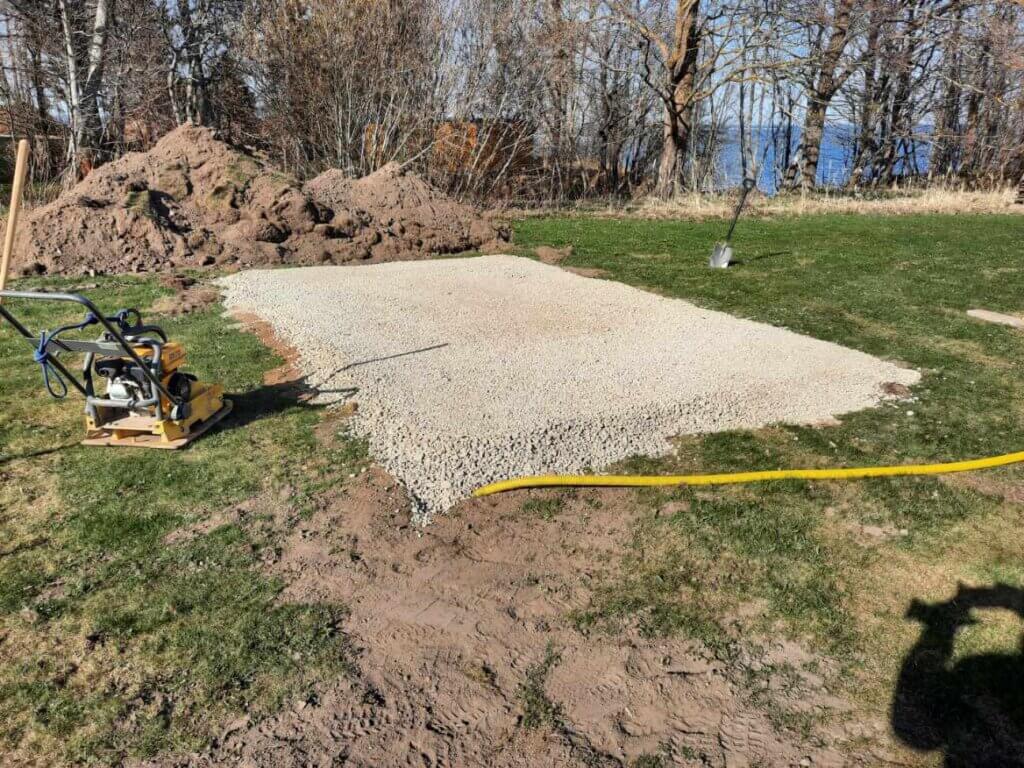
If you have chosen a suitable place for installation in your backyard, all that remains is to find a local service provider or an acquaintance who would prepare a suitable hole. By choosing a local excavation provider, the cost of transportation and time is less, and if desired, it is possible to order the same service provider to cover the module with soil after installation.
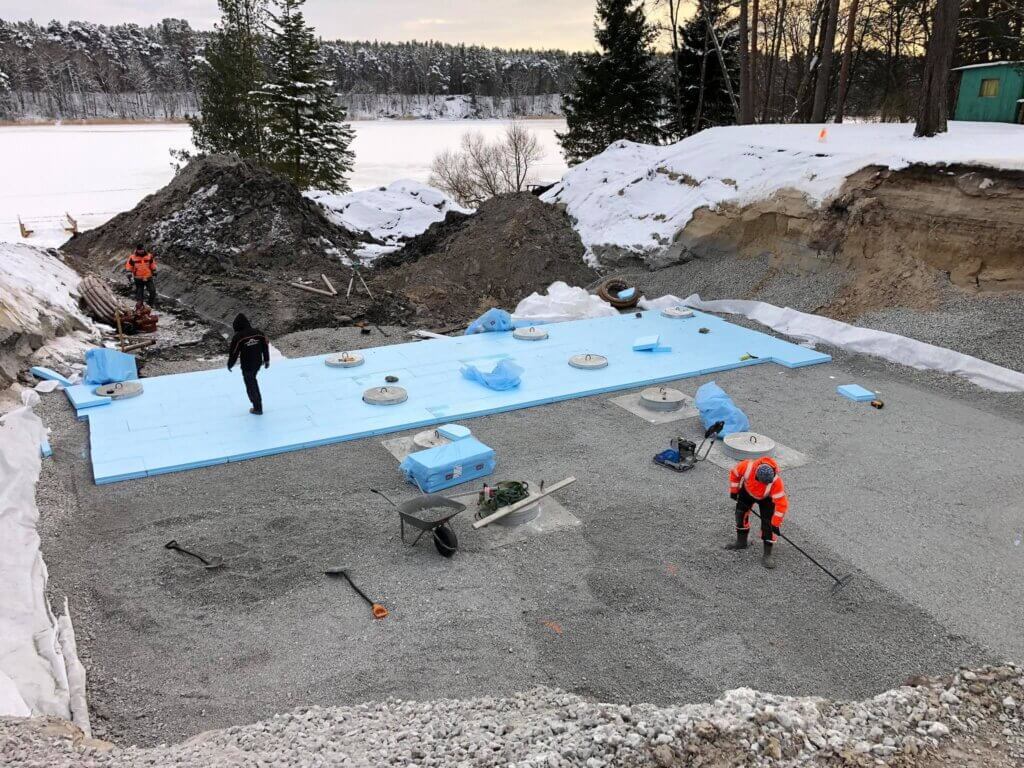
The most popular option is to leave the cellar a little underground, i.e. to create an above-ground solution, so to speak. For this, you need to dig a hole of about half a meter, at the bottom of which make a gravel pad. It is very important that the gravel pad is level and compacted, and that 8-16mm fragments are used in the top layer. Since the crushed stone pad is pressed, its later correction is also difficult and time-consuming for our installers. It is also important that there are no larger stones in the top layer, which can leave a corner of the module in mid-air.
The excavated soil can be left next to the installation site. It can be used to cover the cellar later! It’s the same with larger rocks. They can be used later in the construction of the front wall as well as a decorative element.
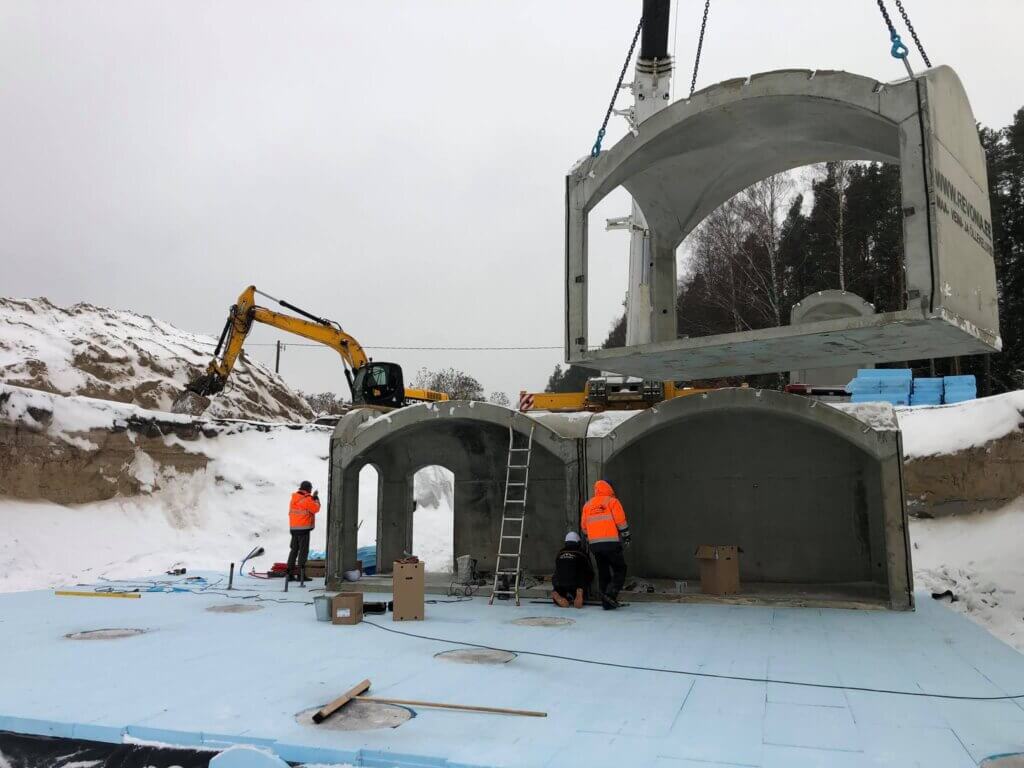
STEP 3- INSTALLATION
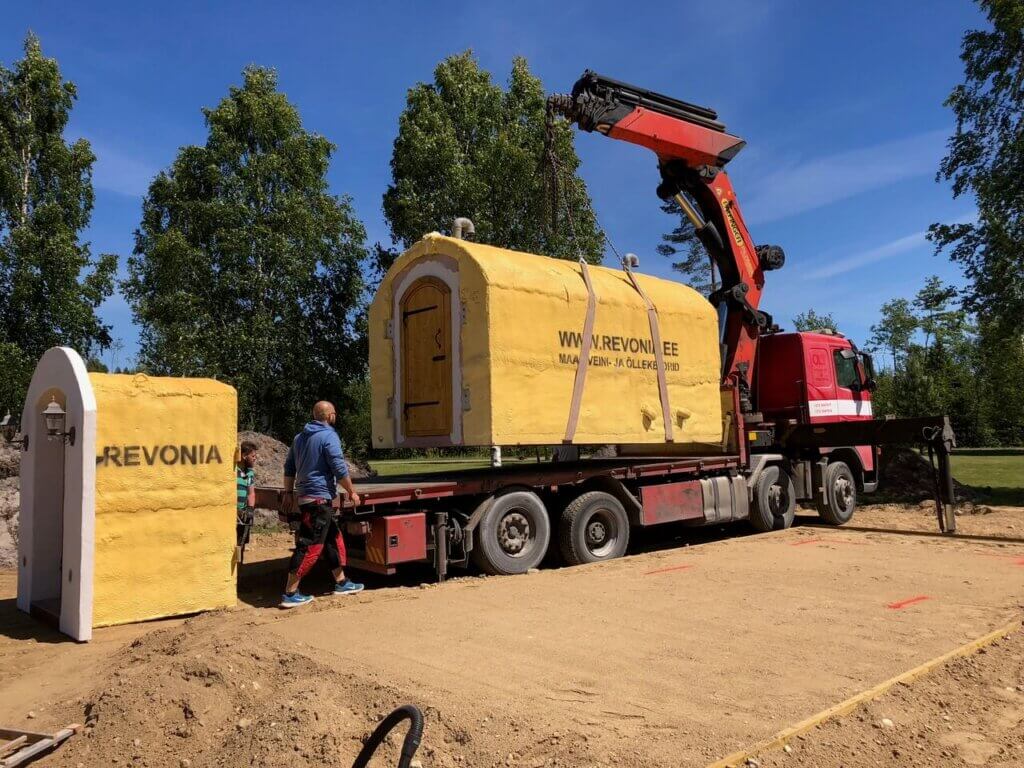
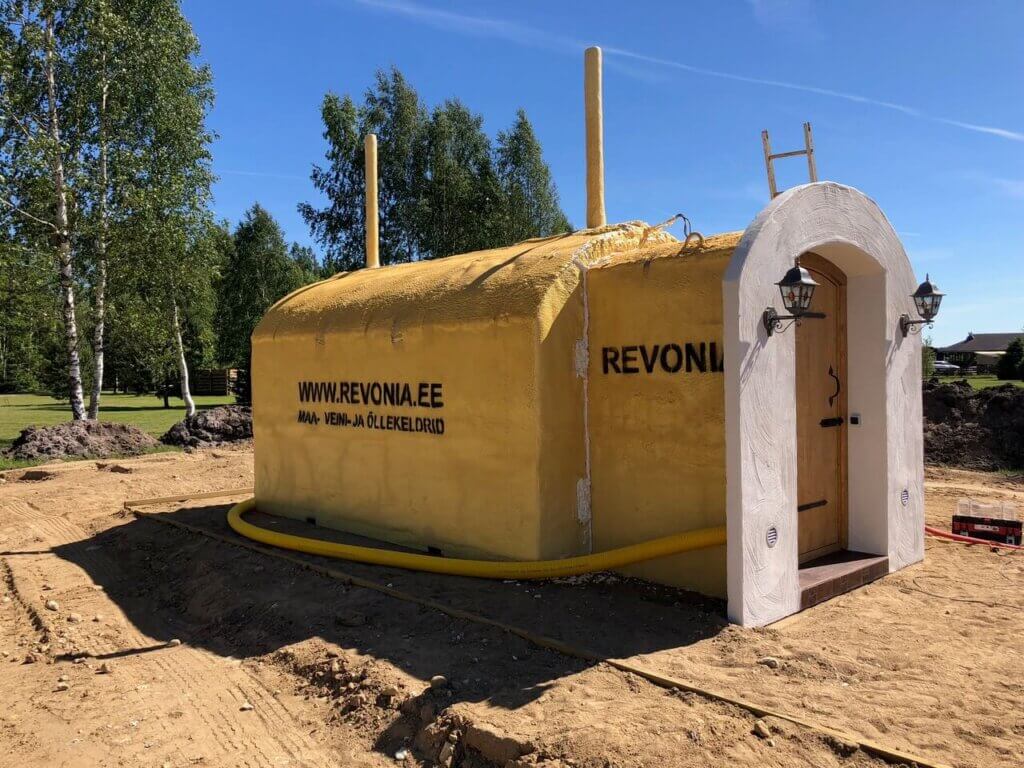
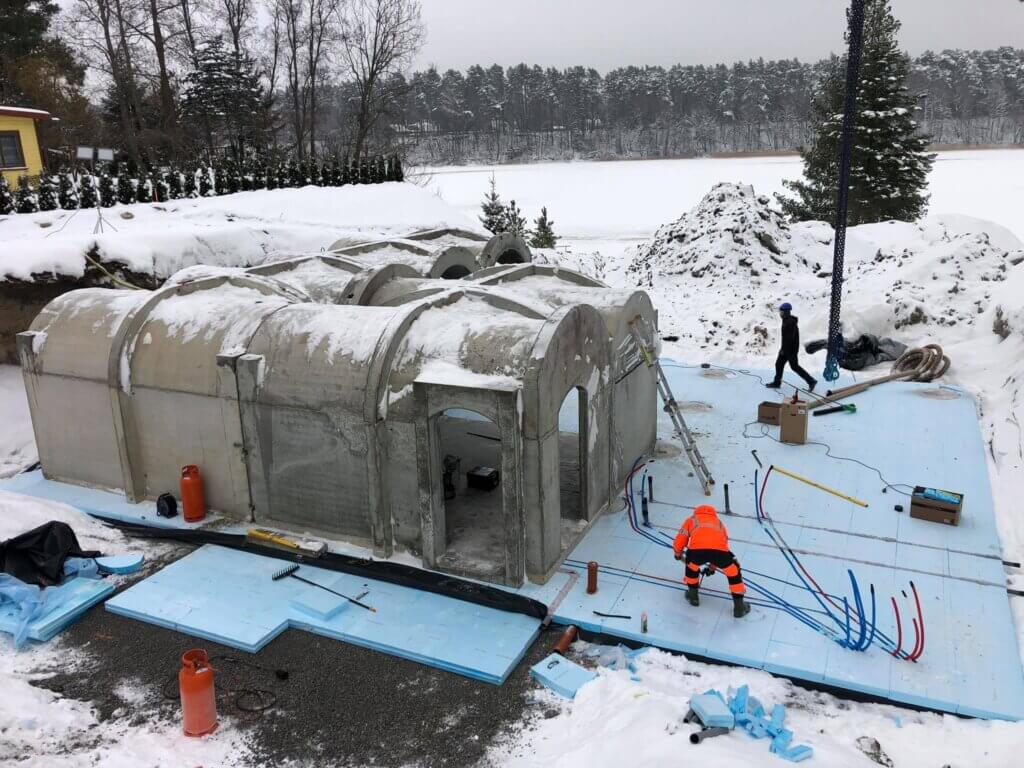
We will arrive at the agreed time with the finished modules. We lift them in place, connect the electrical wiring, ventilation inlet, and outlet pipes and seal all joints. We install the ventilation pipes so that the air coming from outside has already circulated under the soil and cooled down or warmed up. Thanks to this, the temperature in the module remains stable.
STEP 4 – COVERING WITH SOIL
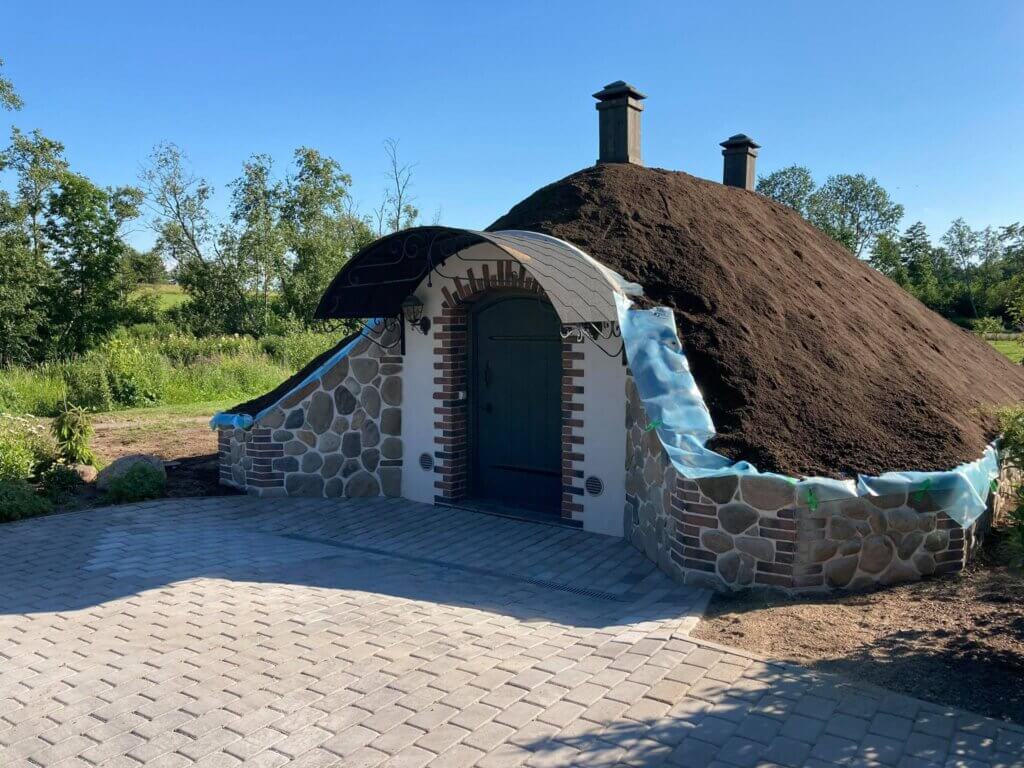
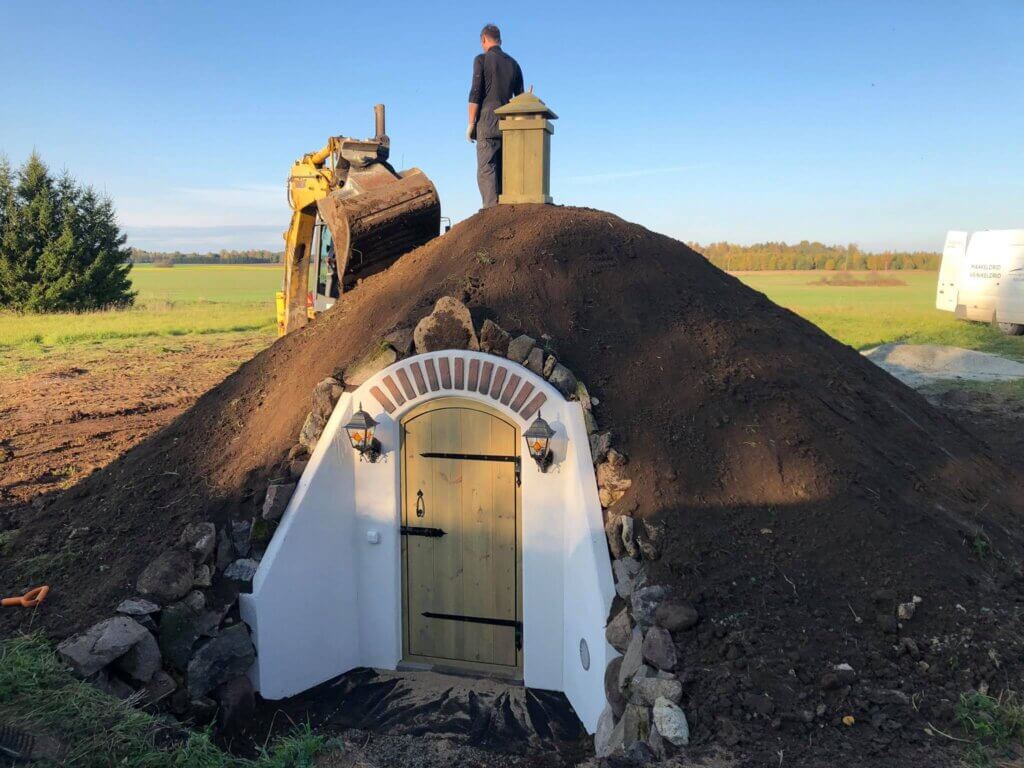
Before covering with soil, it is necessary to make sure that all ventilation and other passages are firmly attached and pre-compacted with soil. When covering, make sure that the module is covered with a ~1-meter layer of soil. It is recommended to use a mixed surface. During landscaping, the temporary ventilation caps of the exhaust pipes are removed, which are replaced by wooden decorative covers. In order for the solution to beautify the home yard even faster, we recommend installing grass or cock’s comb mats on top of the soil, which will create a green hill from a mountain of dirt in just a few hours.
MORE SPECIFICATIONS ON CELLARS, SAUNAS, AND MODULAR HOUSES.
CELLARS
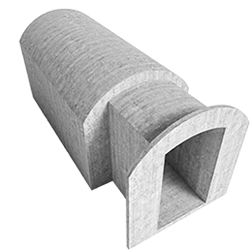
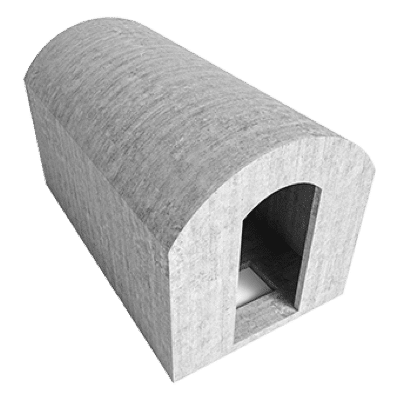
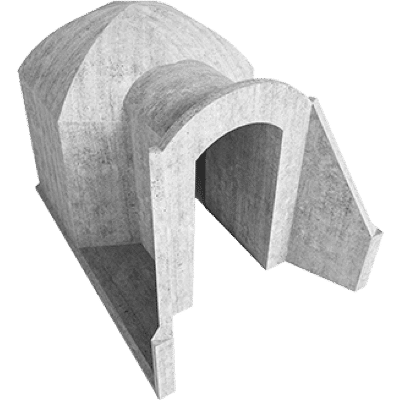
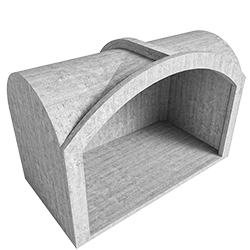
Roots and garden products need moisture to be stored in the cellar, and since the cellar module is monolithic, the only place where moisture can enter is through the floor. However, our smallest model – the 4.5 m² cellar does not have a poured floor. This is because if we closed it, not enough moisture would get into the cellar and the products would not be preserved for a long time. In other words, on this model, we lay a floor of hand-cut concrete slabs on site, where the right amount of moisture can enter the cellar. In addition, the small cellar has support wings attached that hold the ground behind it in place.
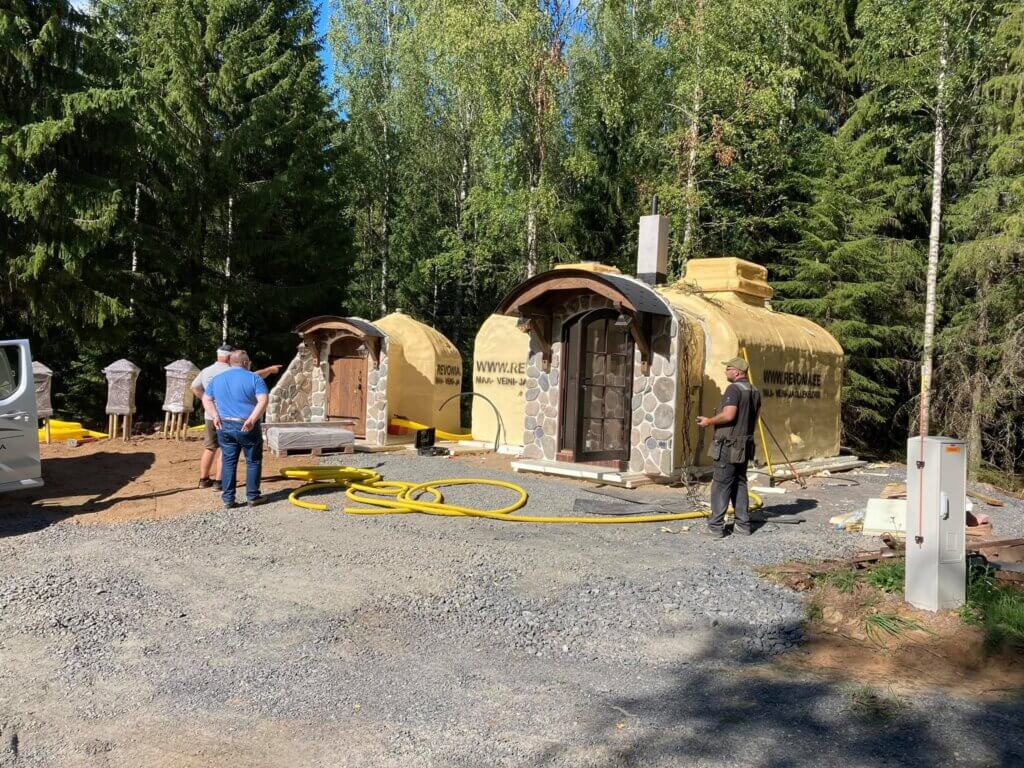
Larger models have a poured concrete floor in which the necessary moisture grates are located. In addition, larger cellars have a separate entrance module and/or additional modules that we connect on-site. The modules are connected to each other with a bolted connection and the joints are hermetically sealed. If possible, the entrance module can be combined with earth stones or side wings made of building blocks that would hold the soil behind. The underground cellar can be a beautiful garden design element where you can let your imagination run wild when it comes to landscaping. A beautifully made solution also increases the value of the property.
When choosing the location of the earth cellar, it would be wise to plan the entrance so that the sun shines on it as little as possible. This would prevent the cellar from overheating in the summer months.
If there is a desire to install electricity in the cellar, then the customer needs to bring the power cable from a circuit breaker to the side of the module and then leave enough spare in the roll so that our installers can connect it to the cellar.

SAUNAS
Unlike the small cellar, our 4.5 m² sauna includes a concrete floor with moisture grates. In addition, this model also has side wings that keep the soil behind them. Installation takes a few hours and its possible to enjoy the sauna experience on the same day!
In the case of sauna models with an entrance module, the surroundings of the entrance must be solved creatively. Either by laying a wall or placing the earth stones that appeared during the excavation around the entrance.
In order to install electricity in the sauna, it would be necessary for the customer to bring a wire from the circuit breaker to the sauna and then leave enough spare in the spool next to the module so that our installers can connect it.
We bring the sewage pipe and the incoming water supply to the outer wall of the modules. We end the pipe with a sleeve, and connecting the water to the sewer, septic tank or other solution is up to the customer.
We also recommend placing a 2x50mm foam plastic insulation board under the bottom of living rooms and sauna modules, which creates a complete protective insulated shell around the concrete module.
HOUSES
In the big picture, the installation of houses looks the same as that of cellars and saunas. We prepare as much as possible in our own controlled environment to ensure the best finishing conditions and fast installation on site.
We prefer to cover larger modular houses with PUR foam on site. This is for the simple reason that since the underground houses are intended for year-round living, every centimeter of PUR foam has a noticeable benefit as insulation, and by doing it on-site, the best heat retention and waterproofing is guaranteed. In the case of modular solutions for larger houses, the PUR foam should also be covered with a geomembrane, and if the location is very watery, drainage should also be built between the roof of the modules and the soil. This is due to the fact that in case of heavy rain, water can seep through the soil and remain on the waterproof PUR foam and wash away the covering soil.
All heating solutions can be used for our modular houses. The most popular choice is a heated air pump and/or electric floor heating. The fireplace solution also creates a pleasant atmosphere. If necessary, we can also pour the heating cable or pipe into the floor of the modules during production.
For residential premises and houses intended for year-round living, we recommend also putting a 2x50mm foam plastic insulation board under the bottom of the modules for the best energy efficiency and insulation. This creates a complete protective insulated shell around the concrete module.
In the case of larger projects, the installation is also accelerated if the modules can be placed on a strip foundation made on-site, which fixes the modules together and supports the house from below.
We understand that the installation of modules can seem complicated, but we are there with advice and strength every step of the way from idea to implementation. We have installed more than 1,200 modular solutions to date, and we can advise even on the seemingly most complicated plans. Feel free to get in touch!